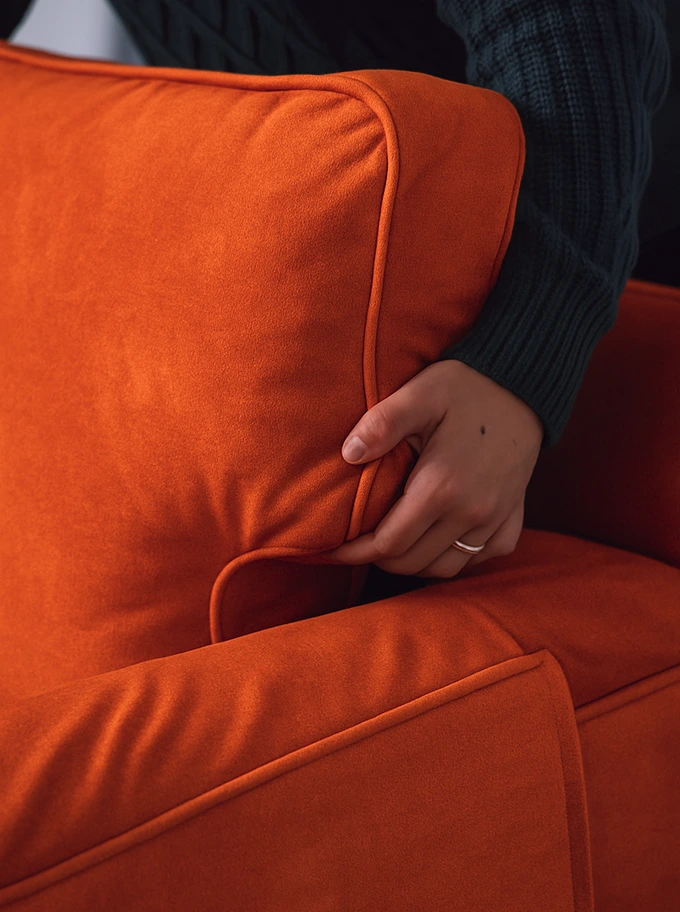
Many of our customers have been requesting more custom details such as contrast piping for their IKEA slipcover, and we find this very endearing as it seems that people do like the advice we hand out. J
A custom slipcover is not personalised until you’re able to add on what is uniquely “you”. Seams, stitches and piping will make your sofa ‘pop’. So don’t be afraid to explore the endless possibilities of what can be done for your sofa slipcover.
Difference between seam, stitch and piping
These 3 sewing terms may seem quite far apart, but they’re actually very much related to each other.
A seam is essentially a line created when 2 pieces of fabrics are sewn (stitched) together. There are actually different ways to create these seams, and piping is essentially the result of one of these seam types.
Types of Decorative Seams (and Stitching)
For starters, there are arguably 4 types of seams:
1. Plain Seams
The most common type of machine-sewn seam; basically 2 pieces of fabric (wrong side out) will be stitched along the dotted line as shown below:

So what typically happens let’s say for a square cushion cover, is that all 4 sides will be stitched in that way (1 side with zipper of course) and once all’s done – it gets inverted/flipped to look something like this:
2. French Seams (a.k.a. “Inverted Seams”)
A French seam is kind of like a seam enclosed within another seam (seam-ception!?), and is probably the only seam that is sewn between fabrics with the wrong sides facing each other first.
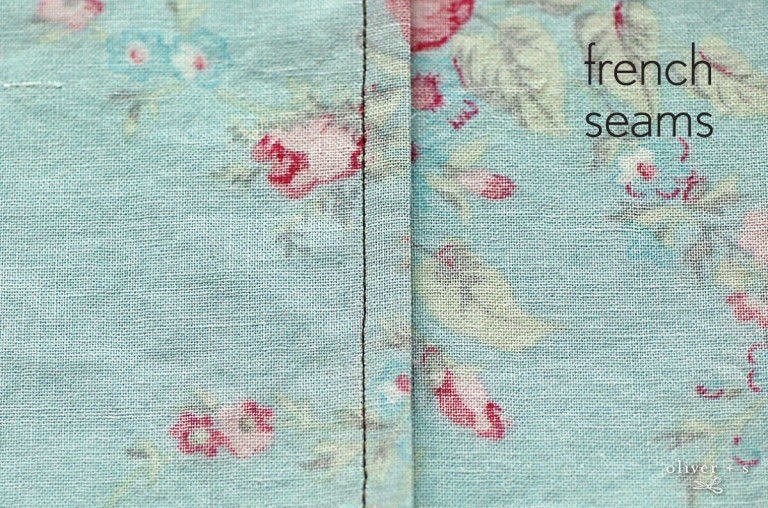
The image above does not really do justice for sewing beginners (like myself), so do check out this video tutorial on how to sew a French seam.
Traditionally, the French seam is just a way to have a clean underside and lessen the chances of unraveling/fraying with the raw edges enclosed. Now, it can be used as a decorative detail for sofas when the entire seam gets inverted – one example would be the IKEA Kivik Sofa.
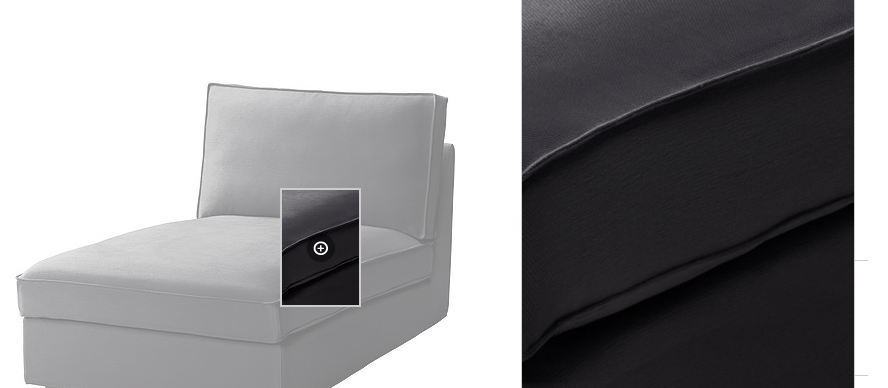
What used to be on the inside is reversed and flipped onto the outside to create an accent for the sofa – hence the French seam also being known as the “inverted seam”. However, it’s not exactly the most popular sofa feature at the moment and might just be an acquired taste.
3. Flat Seams
This is probably the most straightforward seam type to understand as it’s just intuitively combining 2 fabric pieces together, edge to edge like so:
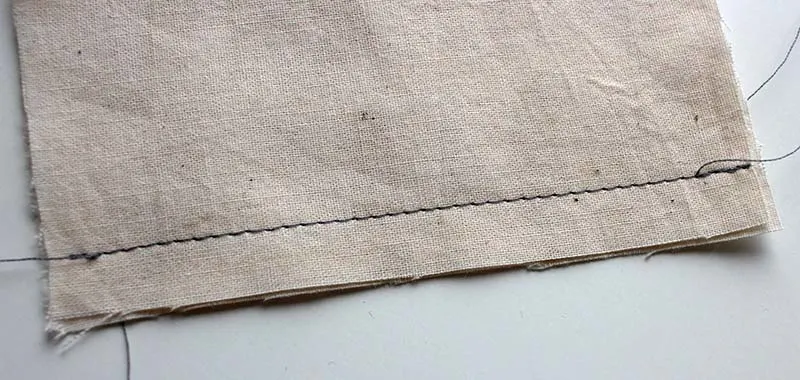
And yes, intuitively this would not be the most sturdy type of seam, especially if the fabrics are thin – that’s why this seam is only used for thicker materials or fabrics with selvage. Selvage is basically a stronger fabric that prevents unraveling/fraying.
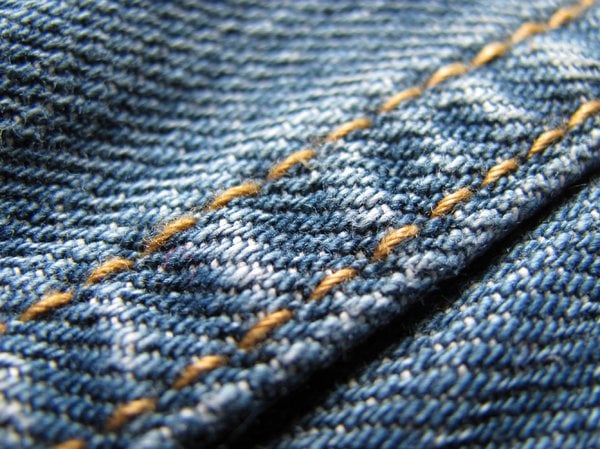
Be sure not to mistake this for “flat-felled” seams – Flat-felled seams are most commonly found on jeans and are similar to the French seam where the raw edges are closed. The main difference (and benefit) is that the final result is completely flat on both sides. Check out the video tutorial here.
Or if you prefer a visual snippet, this image sums it up pretty nicely of how a flat-felled seam is sewn together.
Usually you’ll also be able to see 2 parallel stitchings for the flat-felled seams instead of 1 for the French seam:
For decorative purposes, the flat-felled seams with double stitching can also give a classic sofa a more modernized and casual look like so:
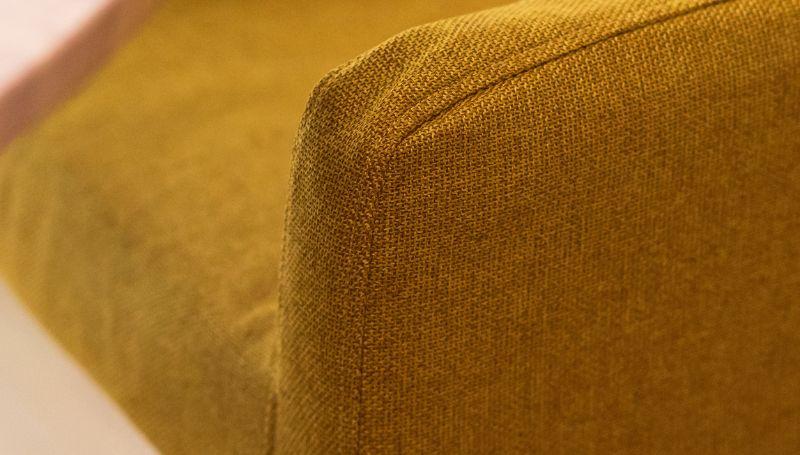
It’s basically like your sofa wearing jeans – subtle, casual and not too flashy.
4. Lapped Seams
Finally, the lapped seams are used mostly for materials that don’t fray such as fleece, leather, suede, felt, etc. Also pretty straightforward and aptly defined – a lapped seam is created when one fabric goes over another and is top stitched. Because the material doesn’t fray, this single stitch is strong enough to hold the 2 pieces together and eliminates unnecessary bulk.
Aesthetically, it isn’t much to look at unless you do a double stitching – which doesn’t make it too far off from the Flat-felled seam with double stitching. As such, we won’t delve too deep into it here but you can visit this tutorial to get a better understanding here: http://gotosew.com/2013/06/guest-post-lapped-seam-tutorial/.
Piping, Cording and Welting
Okay, this is the part where it might get a little confusing – the words above all mean the same thing to us actually. “Welting” on the other hand, seems to have 2 definitions:
- After doing a bit of research online, the welt seam is basically the flat-felled seam
- The other meaning is the same as piping and cording
So with piping, cording or welting – these are basically made by combining 2 fabrics like a flat seam (refer to above) BUT, you sew a cord (wrapped around with fabric) in between the other 2 fabrics.
Confused? Check out the entire video tutorial here: https://www.youtube.com/watch?v=_jKFTqI7YKI
Piping and Cording Applications
We’ve seen contrast and standard piping options quite often (if you haven’t, check our contrast piping blogpost out), but there are a couple of other ways to personalise your covers using the same method.
Piping without a Cord inside
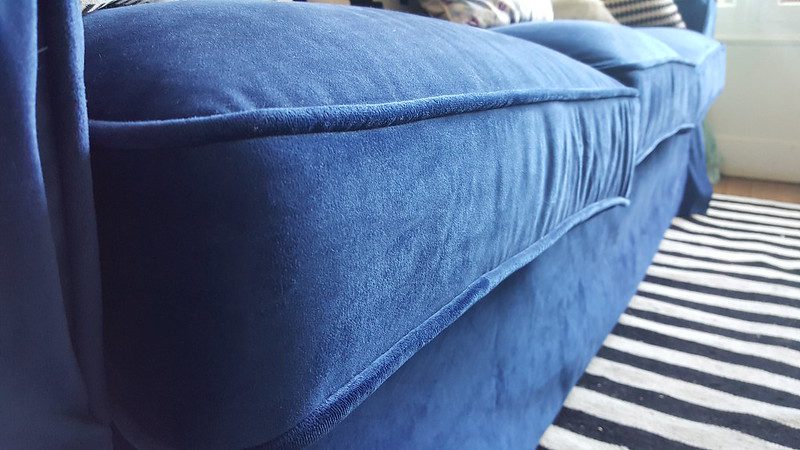
Here’s how cordless piping would look like on the entire sofa roughly – yummy? Too much? Let us know!
And there you have it, just a quick lesson on seams, stitching and piping and hopefully some ideas you could use for your upcoming custom slipcover project with us :)
For more ideas and inspiration, follow our Pinterest Board for seams and piping: https://www.pinterest.com/comfortworks/sewing-secrets/
Till next time, have a good one!
