So you’ve put up with that battered sofa for long enough. Or maybe you’ve just come home and realised, “Man, my couch is kinda messed up. I needa fix this.”
And you need an affordable way to do this, because having it completely reupholstered would cost 4 figures.
Good news is there’s a couple of ways that you could go about this.
1. The Fitted Sheet
Get a couple of cheap fitted sheets, or even use some unwanted sets. We recommend a solid colour. Double them up in half, then cut them down the middle. Size may vary depending on what sofa you’re doing this on.
So what you’re doing here is basically snagging the corner of the arm with the fitted sheet, then tucking it in underneath the seat cushion. And the other side is pulled down your arm and tucked underneath your sofa. Do this on both arms.
Next up you’d want to take the rest of the fitted sheet and then spread it over the front of your sofa, covering the seat and back cushions and allowing it to drape down to the bottom. Note, if you have a really big sofa this might not be the best option for you, or you might need to use multiple sheets and stitch them together.
You can take safety pins and pin both arm and mid sheets together, twisting them up so that they don’t move as much.
End product!
What you might not like about it is that there’s no definition between the seat and back cushions, so this may look a little frumpy. However, it’s definitely easy and quick.
(Technique and photo credit goes to ecocatlady, from blogspot)
2. The Tie Fitted Universal Sheet
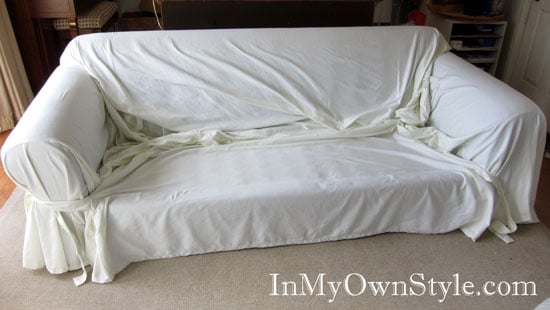
Let’s say you purchased one of those universal sheets from Wayfair / Overstock / Surefit. We’ve all seen them, contributing to the stereotype that slipcovers are “outdated, sloppy and ill-fitting” (quote from Elle decor).
Here’s an easy way to spruce them up, make them look a bit more presentable.
First, you’ll want to wash the cover. Dry it till it’s damp, then drape it back on your sofa. This helps keep wrinkles to a minimum. Arrange it so it ends about 1″ from the floor all around the sofa.
Now, fasten the ties loosely on each arm. All that excess fabric? You’ll want to start gathering it up and tucking it away, in the cracks and crannies of the frame. Smooth everything out nicely.
To make this look nicer, you’ll have to DIY some easy cushion covers. They’re basically fabric that wraps around each cushion and is tied together using ribbons. Think about how it wraps around as if it’s a present wrap :) Do make sure to measure your cushion covers before you cut your fabric for this! Top width x length, as well as the height of the covers and give some extra so that you can wrap it. Ribbons on all 4 sides that meet under the cushion.
Pop the cushions on the sofa after you’ve wrapped them up. Now, tighten up the ties and make sure that all the fabric is smoothed and straightened to your liking. Accessorise as you like :)
Pro-tip: to make sure the frame doesn’t move around much, use either PVC pipes or wooden rods to keep the covers wedged into the frame. You could even wrap the pipes with thick rubber bands for additional traction.
(Technique and photo credit goes to Inmyownstyle.com)
3. The Handmade Custom Sofa Cover
You’re a busy person with a tonne of obligations. You don’t really have the time to sew a slipcover together, and you want something that really sets off your living room. Something to fix up that sofa you’ve been putting off for a while now, something that expresses yourself.
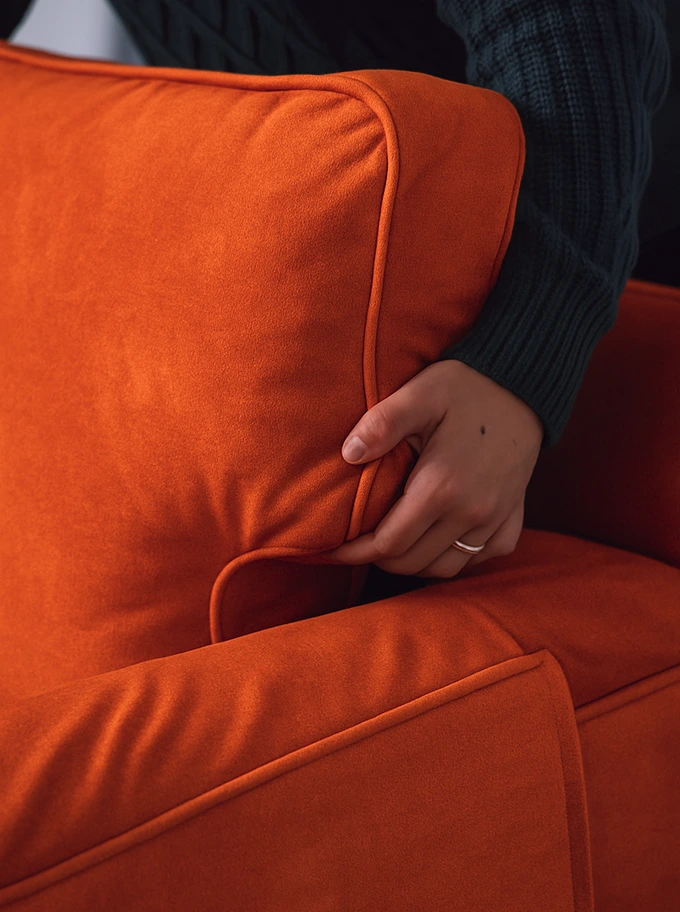
Maybe you should look into a custom sofa cover, we happen to make those for almost any sofa out there. That image is one of our creations, actually :)
Hope this has helped you out, and here’s to recovering your sofa, may it serve you for many more years to come.


