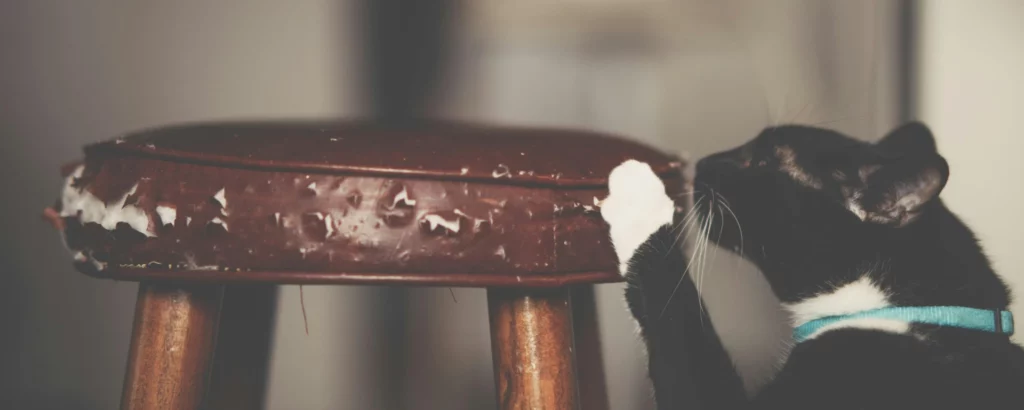
If you’ve ever Googled “how to cat-proof a couch” while clutching a shredded cushion and questioning your life choices — you’re not alone. Cats are adorable, mysterious, and utterly convinced your furniture was made just for them (to destroy).
Shredding your cushions and shedding on your couch comes second nature to them. After all, they own the place. But fret not, there are ways to cat-proof your sofa and living space (and we won’t let you sacrifice style).
First, we need to understand why cats do what they do before we attempt to solve the problem.
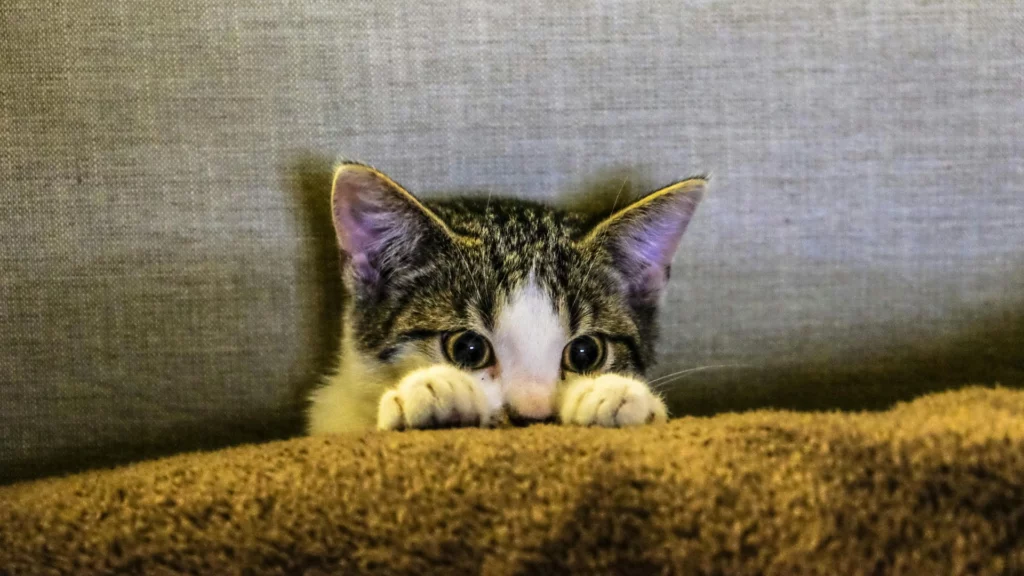
Why do cats scratch your furniture?
Short answer? It’s not personal — it’s primal.
Scratching is part of your cat’s natural behaviour. It helps them stretch their muscles, sharpen their claws, and mark their territory — both visually and through scent glands in their paws. Your sofa just happens to be the perfect height, texture, and location for their daily claw session. Lucky you.
They’re not being naughty — they’re being very cat.
The key isn’t to stop the scratching altogether (you won’t win that battle), but to redirect it to something more appropriate. Think: scratching posts, toys, and textured alternatives that hit the same satisfying notes as your furniture.
That said, prevention is better than cure — so here are tried-and-tested ways to protect your space and keep your whiskered roommate happy.
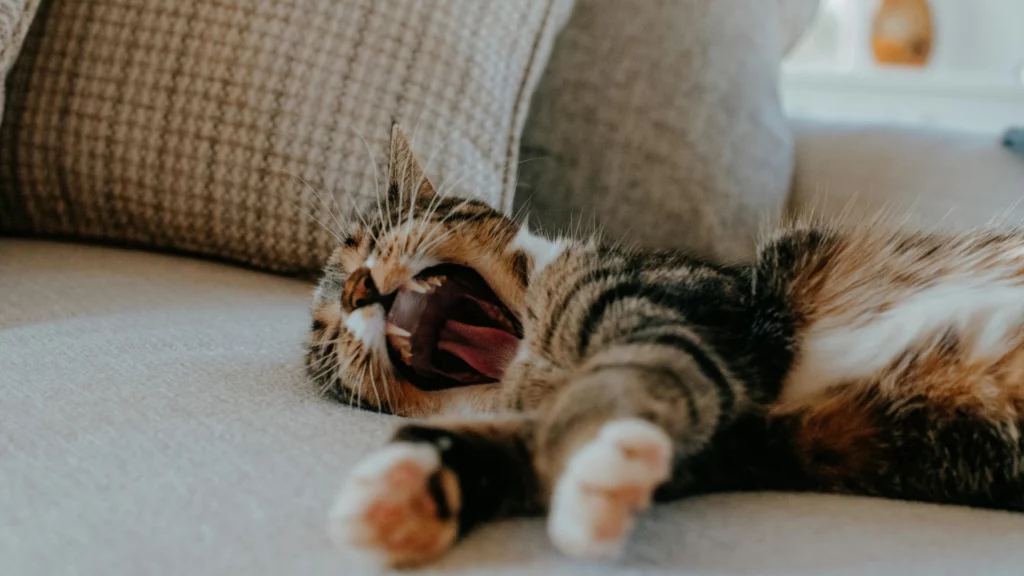
Cat-proof couch 101: How do I stop my cat from ruining my couch?
1. Up your scratching post game
Get your cat has a scratching post or they will use your couch instead. You may need to experiment with moving the scratching post around to find the most effective location. Preferably, the scratching post should be somewhere that your cat already spends a lot of time.
If your cat is attached to your sofa, try the sofa scratching post from Chewy. A more stylish option that is still attached to your sofa is Hilde & Phil’s Cat-e-Corner.
It’s important to find a scratching post that has a texture your cat likes. Some cats prefer felt or rope, while others prefer wood textures. Experiment with a couple different scratching posts to find the one they like best. Spray the scratching post with catnip once a day to entice them to scratch until it becomes a habit.
The most important factor for a good scratching post is that it’s stable. Avoid any posts that are moving, or that affix to something that moves (like a door). Your cat will try it once and then never again. A good alternative is a floor scratcher or even a wall-mounted scratching post. With the right scratch post, you’re well on your way to achieving a cat-proof couch.
2. Give them more lounging options
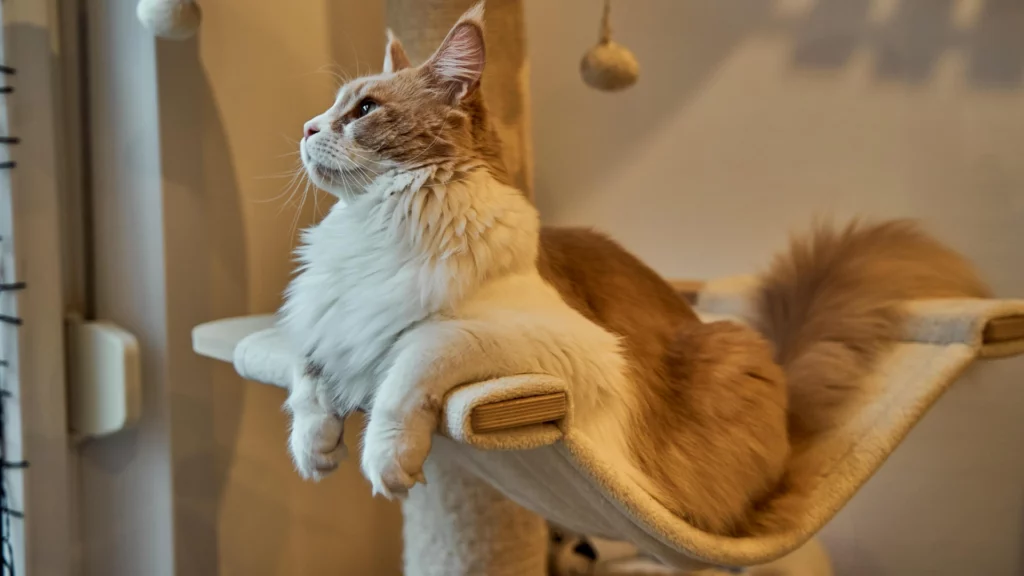
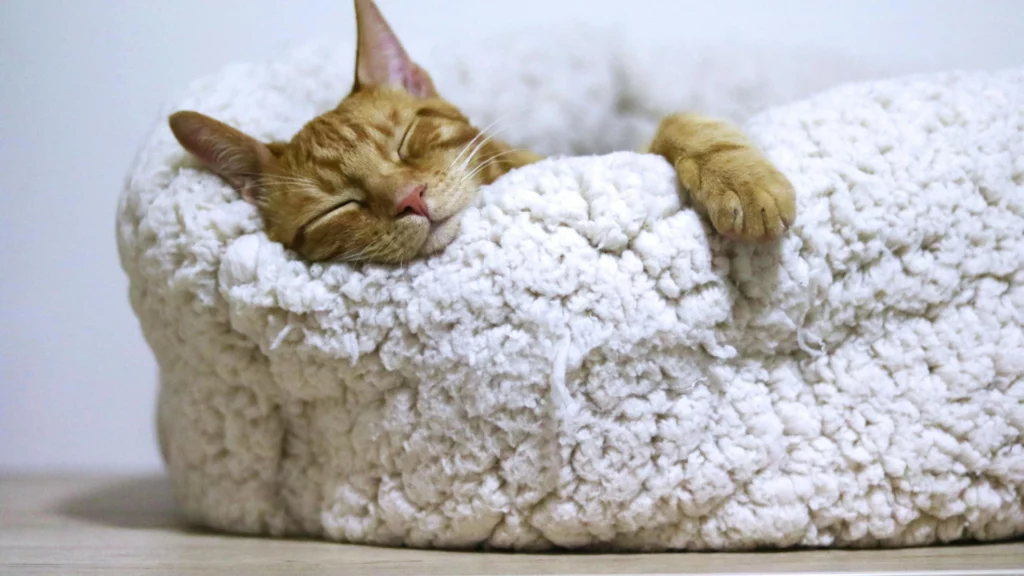
If your fur baby has deemed the couch as their primary spot to sprawl out, you may need to provide them with a better substitute. Try to identify what attracts your cat to your sofa and then get cat furniture that is similar but more enticing. In other words, cat-proof couch is achieved by giving your cat a space of their own.
For example, if your cat likes high places and is constantly climbing onto the back of your sofa, a tall cat tree or even installing a cat shelf might be ideal. We like this Hammock de Luxe (especially for chonkier felines) or this fun and interactive Ladder Kit from Cat Tree King.
If your cat prefers to nestle within soft cushions or under a throw, an enclosed or cave-like bed will offer even more solitude. The Catenary Moon Cave is a great option that will blend seamlessly into your home decor.
If your cat is drawn to the window and likes sunbathing, install a comfy cat couch by the window to give your cat better access to the sun. Remember that location is just as important as the type of lounger.
3. Optimise the litter box area
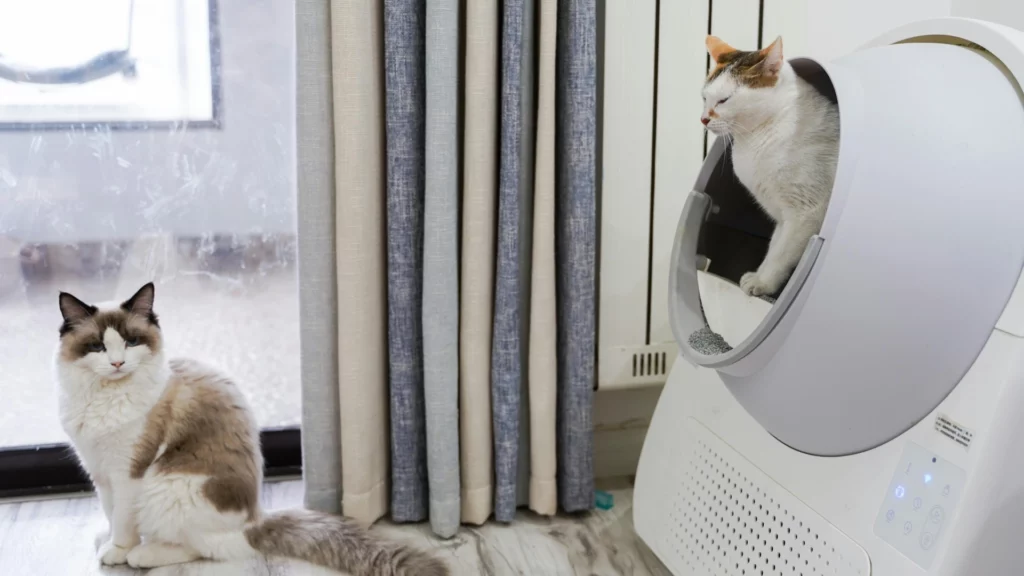
Cat’s can be very fussy about where they do their business. If their litter box is not to their liking, they may soil your furniture in protest. Cat-proof your space by making sure the litter box is big enough for your cat, and in a private, quiet place. Many felines prefer enclosed or concealed litter boxes. This variety of also helps contain the litter and reduces the amount of tracking across your floor your furniture.
If you want a stylish option that hides the litter but also gives your kitty a space that is all their own, consider the Recaceik Cat Litter Box Enclosure with Cat Tree. Or you can treat yourself to a self-cleaning machine like the Litter-Robot 4 from Chewy.
4. Groom your cat regularly
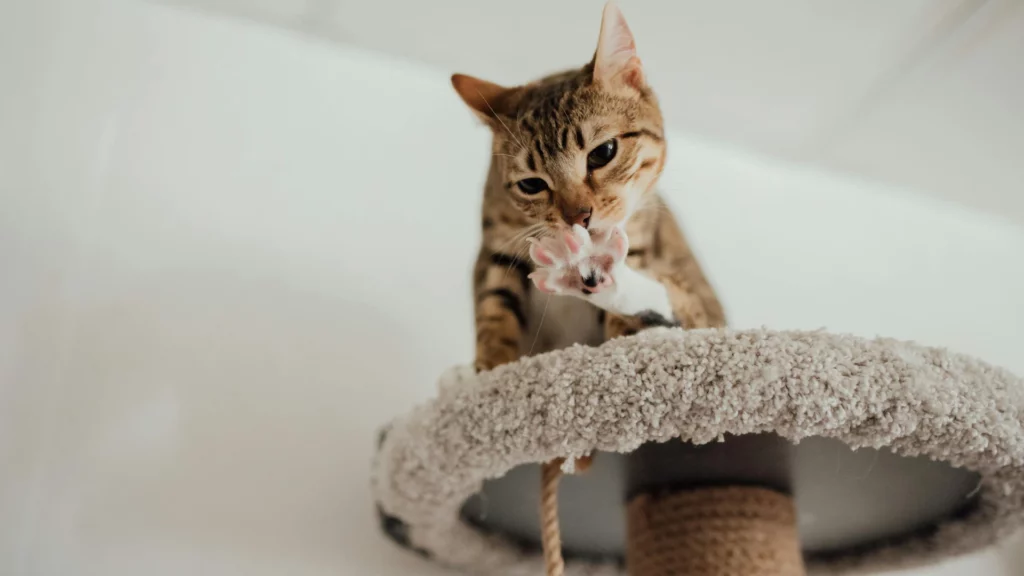
Use a tool with a stainless steel comb, like the Furminator Grooming Rake, to effectively remove loose fur from their undercoat. Brushing your cat every other day can significantly reduce the amount of fur that ends up on your couch.
A silicone pet brush or pet glove can also do wonders for collecting loose hairs from your cat and furniture. The fur sticks to the rubbery surface making it very quick to wipe up fur from your sofa.
5. CBD oil
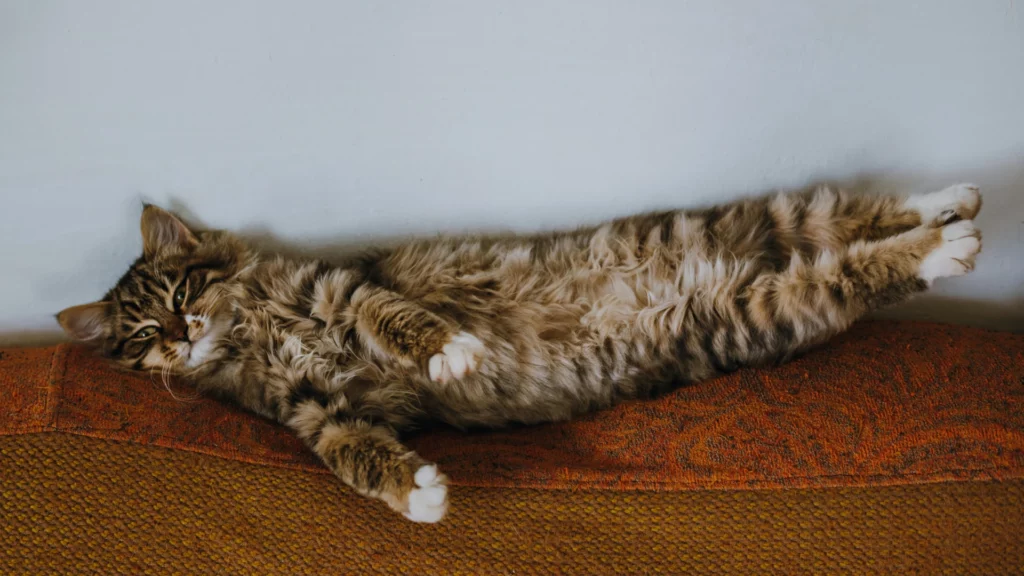
Excessive furniture scratching and furniture soiling can also be a symptom of high anxiety in cats, particularly when they are also displaying other anxious behaviours such as constant meowing, aggression, hiding, clinginess, or low appetite.
If you suspect your cat is displaying anxious behaviour, CBD oil might help. Administering CBD oil can be done with a dosing dropper when your cat is calm. If your cat is skittish, some owners find that wrapping their cat in a towel can help keep them calm and still while administering the CBD oil.
Keep in mind that although CBD is widely available in most US states, there are still some laws prohibiting the purchase and possession of CBD. Make sure you are clear on your state’s laws and consult a veterinarian before pursuing this option.
6. Vinyl nail caps

Declawing your cat should never be an option. Declawing doesn’t just remove the claws; it amputates the last bone of every toe. The result is a higher risk of health problems, chronic pain, impaired balance, and can introduce whole host of other undesirable behaviours, like urinating outside the litterbox and hostility. The procedure is so inhumane that it is banned in at least 42 countries.
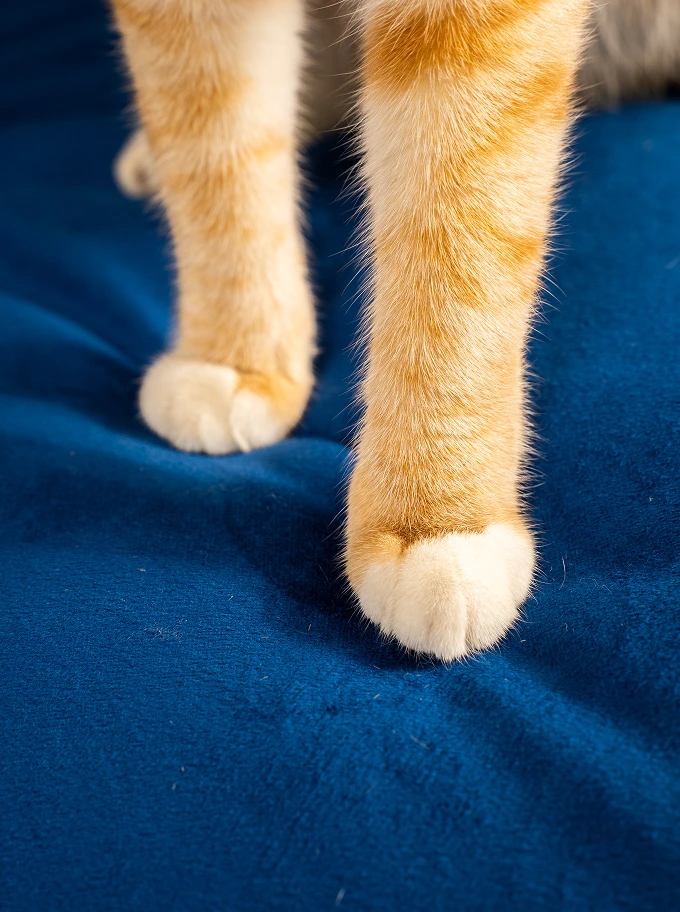
Try vinyl nail caps instead — these are soft covers that are glued over your cat’s nails. Your cat will continue their scratching behaviour, but the vinyl covers will prevent any damage to the furniture. The caps naturally fall off after four to five weeks as their nails grow.
The downside is that not all cats adapt well to them. They may also prove difficult to apply if your cat doesn’t like to have their paws touched. Your vet may be able to help you apply them, but keep this option as a last resort.
7. A cat-proof couch needs scratch-resistance
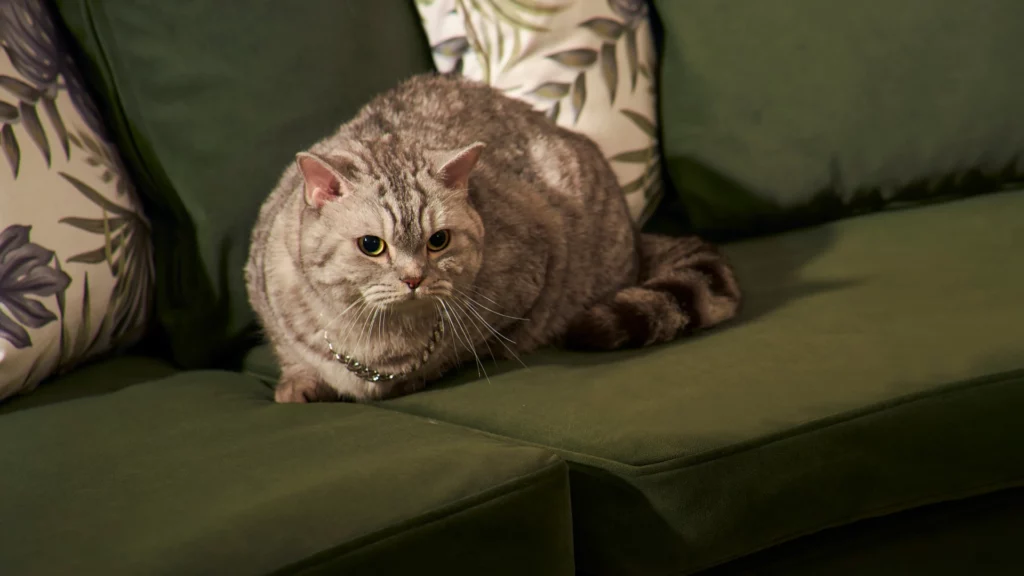
Lastly, if all else fails to prevent your cat from terrorising the sofa, you can still change the sofa itself. Either by buying anew or making your current one a cat-proof couch.
Cats generally like textured and rough surfaces where they can sink their claws in. Some suggest double-sided tape as an alternative material to apply to your couch. It could discourage your cat from clawing, as they are put off by things that stick to their feet.
This is not the most aesthetically appealing option. The solution: get a scratch-resistant sofa cover. Here’s why they work:
- Tightly woven to prevent snags and punctures
- Made from fabrics like velvet, which cats don’t love to scratch
- Machine washable, so fur and messes clean up fast
- Tailored to fit like a glove (no more tug-of-war with the cushions or saggy bits for pets to play with)
Comfort Works’ Signature collection in particularly engineered with curious claws in mind. Crafted with performance fabrics, these covers stand up to daily zoomies, sofa stomps, and even the occasional ‘I’m-mad-at-you’ scratch attack.
Best part? They’re machine washable, non-toxic, and stylish enough to fool your guests into thinking you don’t live with a furry chaos agent. Want a cat-proof couch. We’ve got you covered.
Explore our full range of pet-friendly sofa covers
Summary
Tired of your cat treating your sofa like a personal jungle gym? We’ve got you covered (literally). From upgrading scratching posts and creating feline-friendly lounging spots to grooming hacks, CBD oil, and vinyl nail caps — there are ways to protect your furniture without cramping your cat’s style.
And if all else fails? A scratch-resistant, machine washable slipcover (like our Signature collection) gives your sofa a second life — minus the fur, claw marks, and daily drama.
Explore our pet-friendly covers to make your home both cat-happy and human-approved.



Lisa G
Dec 21, 2018We use cardboard cat scratchers and always help our kittens to learn to use them by holding their paws and mimicking scratching behaviour. A little catnip on the scratcher first also does the trick!
Kimberly Warner
Dec 20, 2018I find that a good sofa cover works the best… as long as there are no openings. If there are, they’ll crawl right under the cover and it’ll become their favorite place to play.?
Erin
Dec 20, 2018So our cats don’t dig in our house plants we filled in the top of the pots with river rock. We can still water the plants but the cats can’t get to the soil.
Kristin E
Dec 20, 2018Multiple scratching posts have worked for us.
DeeDee Pumphrey
Dec 20, 2018I’ve had good success with many of these tips, including the double-sided tape. I also recommend choosing Sunbrella fabric for your furniture. It’s tightly woven, stain resistant, and an available option at Room & Board.